I finally got around to writing this writeup. I hope you enjoy.
INTRODUCING, THE FIRST HOMEMADE, CRANK-POWERED, BOW ARMED, AUTOMATIC NERF BLASTER!
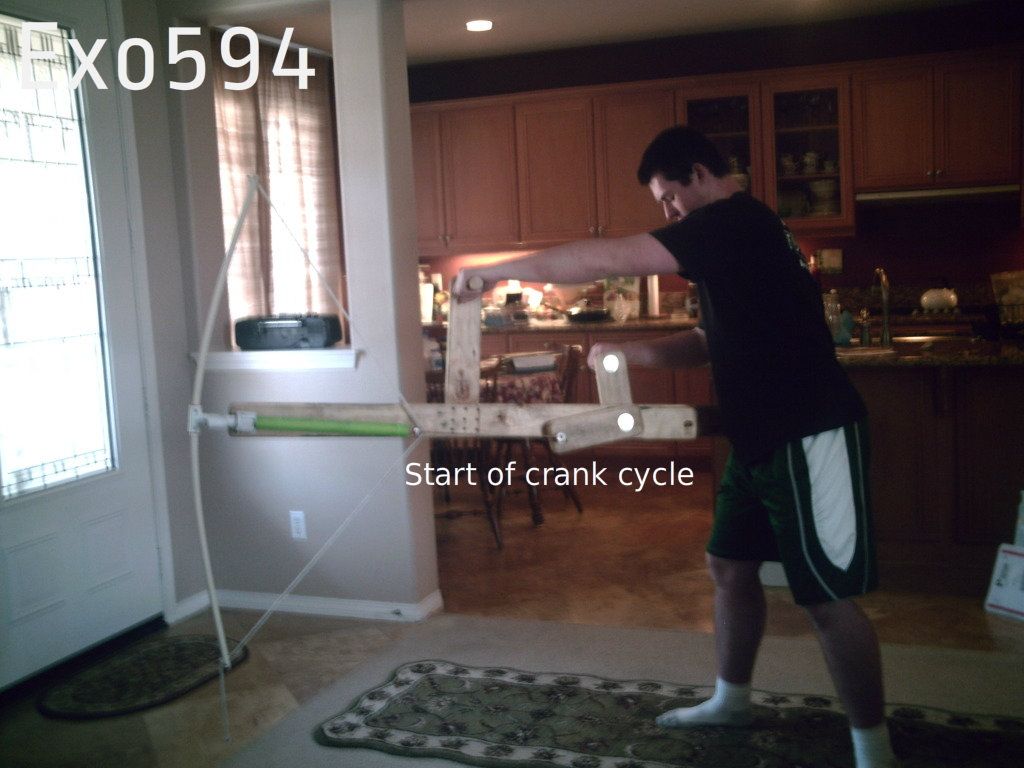
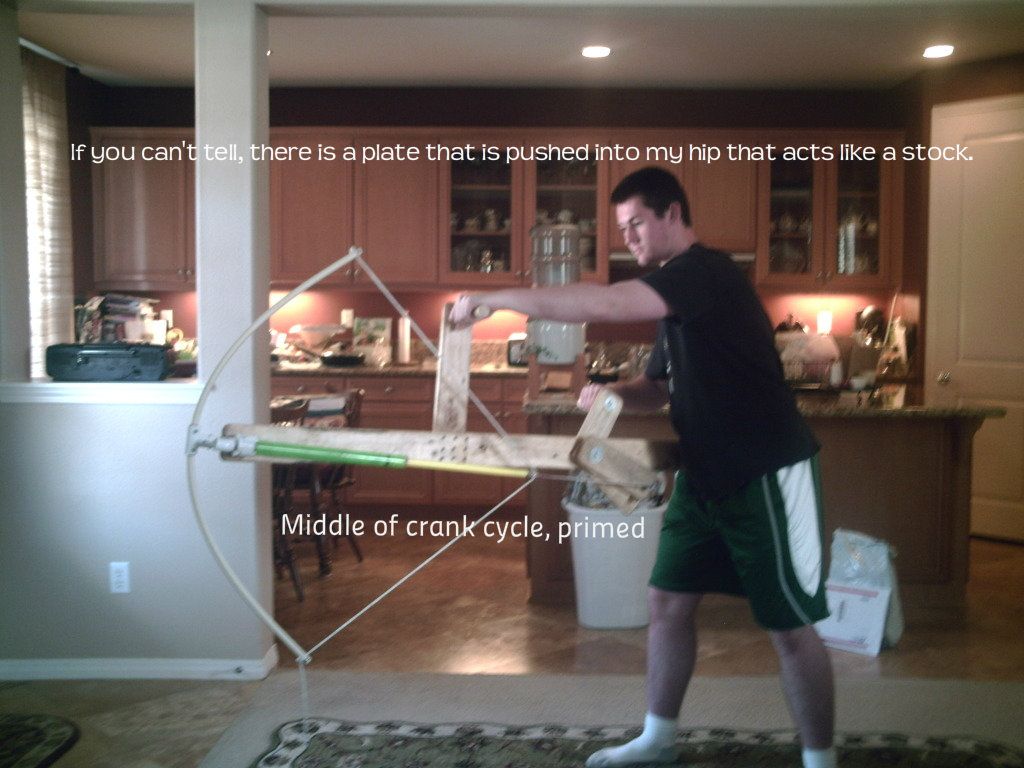
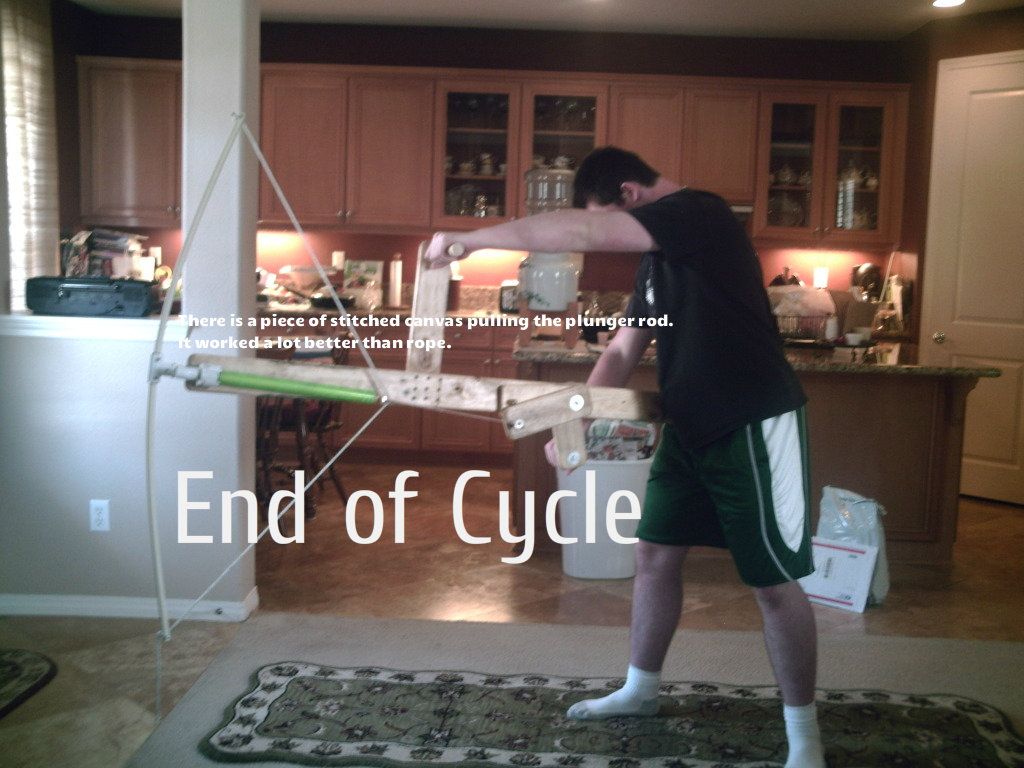
As you can see, it is quite large and bulky. However, being the first of it's kind, this is expected. I may eventually make a much smaller, bullpup version. The basic mechanism will remain the same, as it has been proven, but the dimensions will be shrunk, and the orientation will be changed up so that this can actually be shouldered.
This is not an explicit writeup. I expect you to have basic woodworking skills, knowledge of how to apply basic scaling, knowledge of how to make a set of bow arms and an accompamying HAMP or LAPM, and enough intelligence to stitch fabric without raping your fingers. Here goes.
MATERIALS:
Lots of wood, appx. 1/2" thick, 4" wide, 4-5' long. I'd say 4-5 of these planks.
A wood dowel, however wide you like, this will be your handle(s).
Wood screws, just buy a box.
Stuff to mount the HAMP/LAMP w/bow arms to the crank mech.
Stuff to make a HAMP or LAMP, and a set of bow arms.
Sturdy canvas. Just buy a few yards, make an ammo bag, bandolier, etc. with some more manstitching.
A couple washers of assorted size.
A nylon spacer.
Some 1.25" PVC.
Probably some other stuff that I've forgotten at this point.
Tools:
Whatever you need to construct a HAMP/LAMP and a set of accompanying bow arms.
A good woodsaw.
A good file for wood working, preferably large teeth (low tooth per inch) size.
One of those things that you slide along the surface of wood and it strips off curliques to reveal untreated wood underneath.
A drill and approprate bits.
A 1.5" holesaw (MUST BE A HOLE SAW, NOT A SPADE OR ANOTHER TYPE OF HOLE CREATING DEVICE).
A screwdriver or screwdriving bit for the drill.
Some sandpaper of appropriate grit for your finishing option.
Spraypaint, stain and sealer, laquer, etc. (The finishing options, and you WILL want to finish it, otherwise the wood will get nasty).
Like I said above, I'm not going into an explicit writeup. I will show what measurements are needed for the mechanism to work properly, and how to make the crank mechanism itself. It is up to you to figure out how to build the HAMP/LAMP, bow arms, adapt my design to fit your measurements, and ensure that it works.
Here is the crank mechanism:
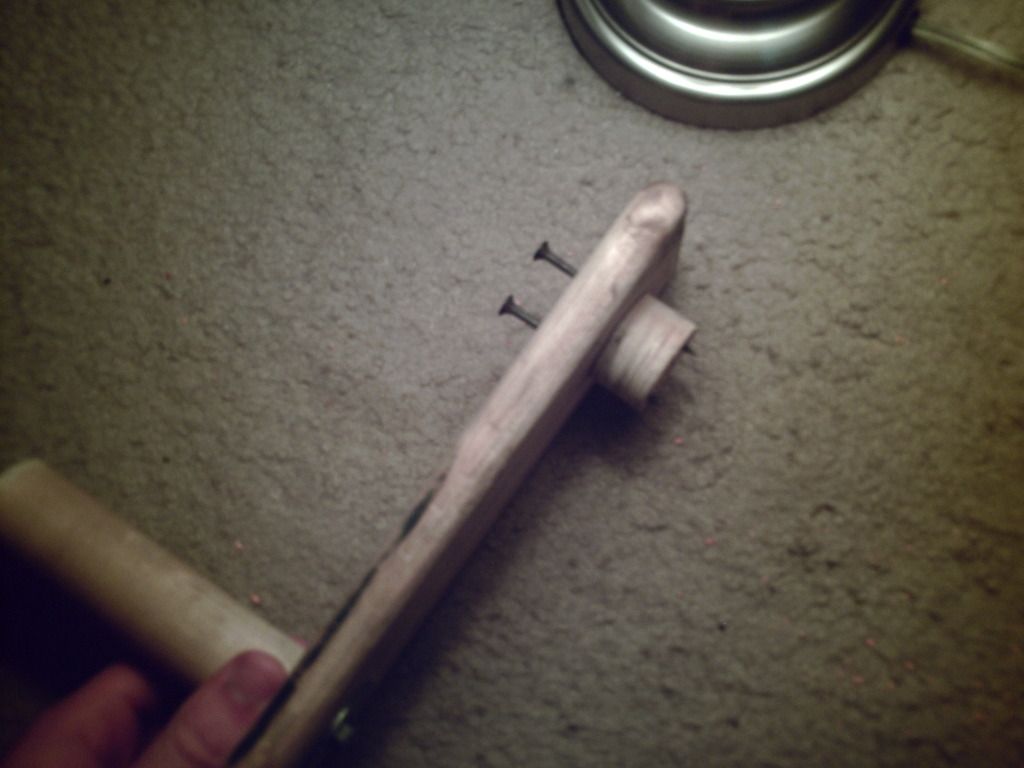
This is the part of the crank that you hold. As you can see, there is an arm with a handle screwed onto it. I used a holesaw to cut the piece that is screwed onto it. The hole in the center of the holesaw core is alligned with a hole in the plank. The screws sticking out will be further screwed when the next peice is aligned.
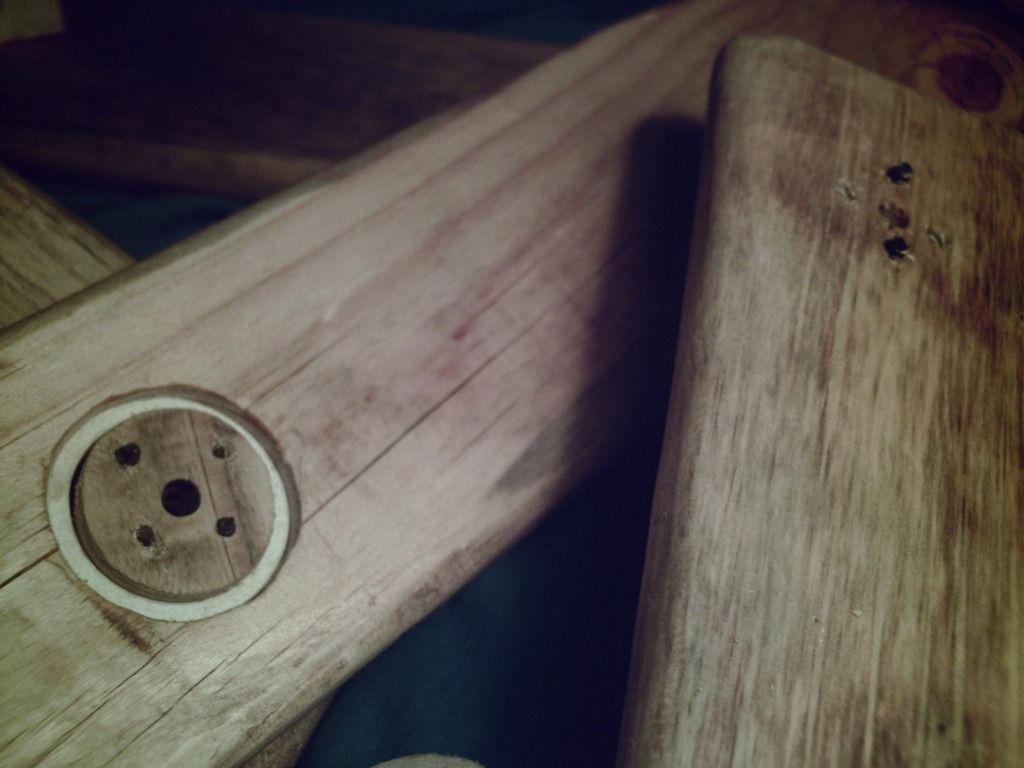
Left side of the board, ignore the plank on the right, that is not the handle piece.
The hole saw core is taken from the plank that is shown here. Thus, making the core requires proper placing, not just maing it anywhere from any plank. File out the hole, and place a 1.25" PVC ring into the hole, it should fit snugly, and mount the previous peice in the right side of the plank, shown below as the right side of the board, and the handle sticking "up" or "to the right".
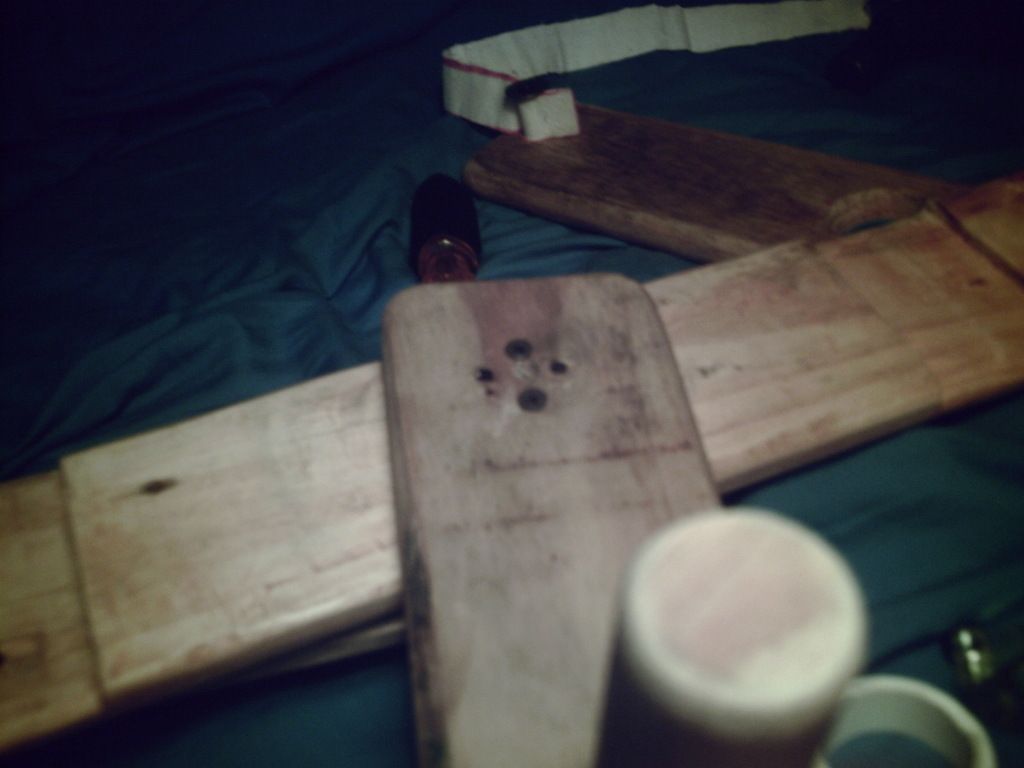
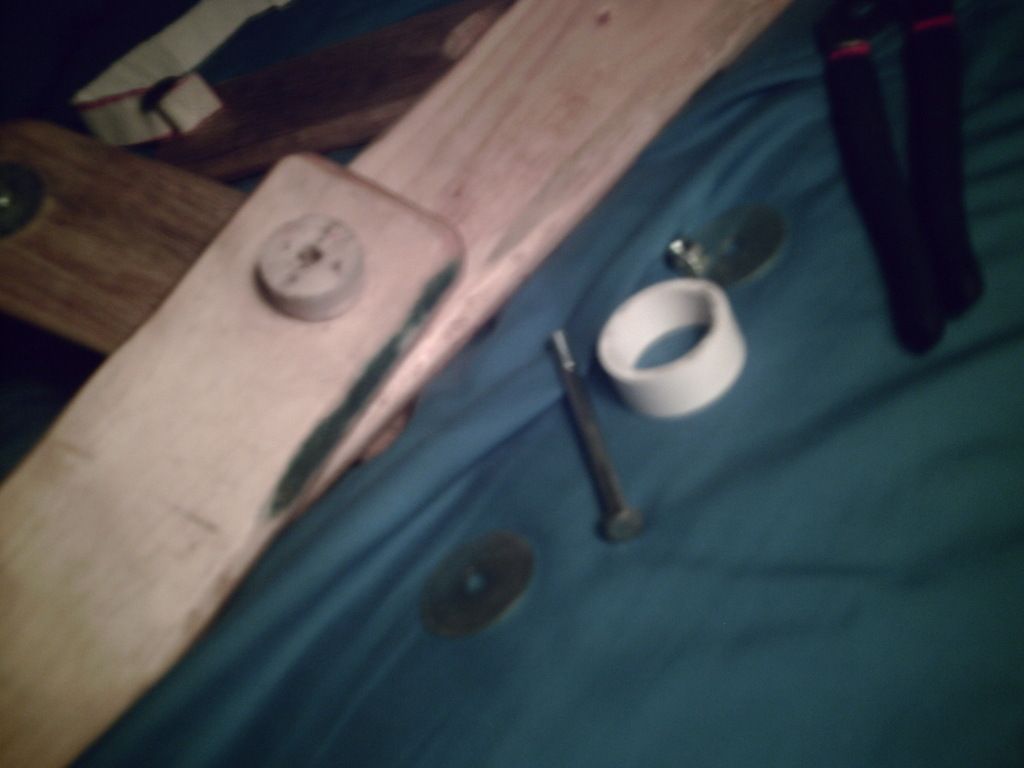
The above picture shows the arm that pushes the priming arm. It is identical to the first arm that was made, except the "handle" on the first has been replaced with a small chunk of a dowel that pushes the arm connected to the plunger rod, which is not shown, but the majority of the arm is shown.
Next is the arm that is connected to the plunger rod. You will use the holesaw to cut a core out of a plank as shown below. The CENTER of the holesaw cut out should be HALF of the DRAW LENGTH of your bow away from the mounting point for the puller. There should be at least another inch of wood beyond the puller post, just for strength. The arm that connects to the plunger rod will mount onto the LEFT side of the blaster, also using the expanded holesaw, 1.24" PVC ring, holesaw core method. ALSO, right under the washer are another two screws going into the crank assembly. They should be able to reach through at least three of the layers of wood, and the first two screws should also do the same, but from the right side. The washer holds the PVC ring onto the assembly, and the ring and the wood arm it connects to should ahve a tight enough fit that they won't fall apart easily.
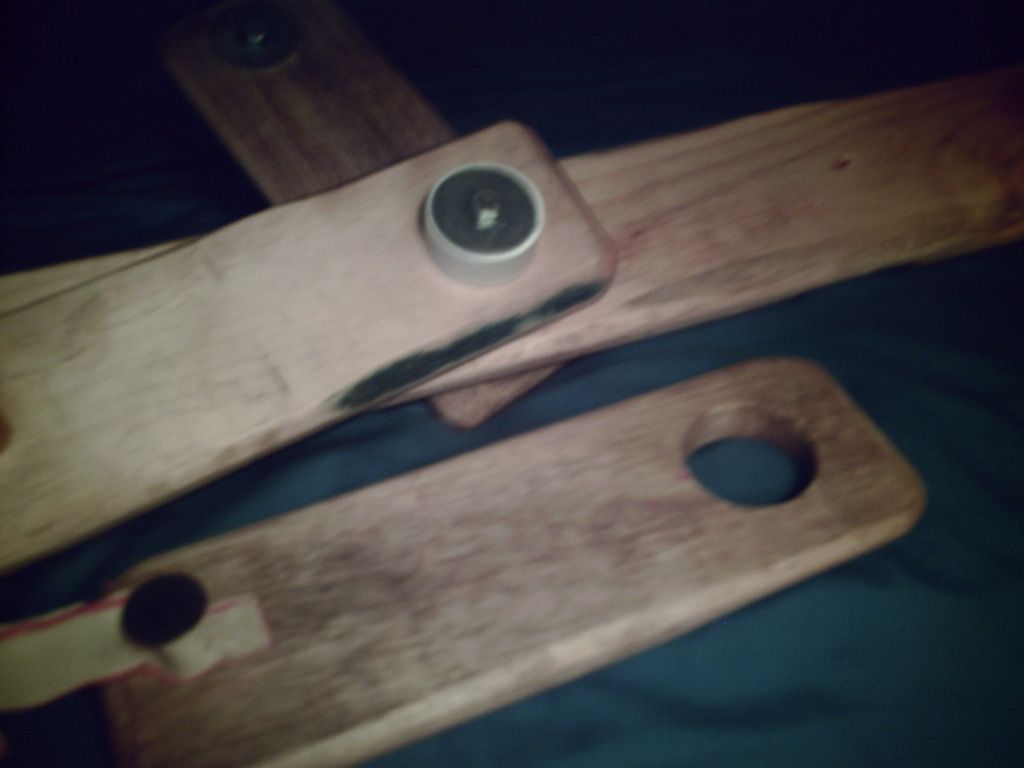
The center of the crank mech should be placed so that it is 1.5 times the length of the draw away from the end of the plunger rod's back while at rest. This is done so that the end of the priming arm will be one length of draw away from the end of the plunger at rest. Here is where the sewing takes place.
You will need to stitch a strap out of canvas, the same length as that of the draw of the blaster, that will connect the peg on the priming arm to the back of the plunger rod. Mine ended up being a long Y shape, because there was a bolt near the back of my plunger rod that I was using as a priming handle that was perpendicular to the plane that the bow string rests on. So, the canvas was shaped to hook onto that bolt, straddling the bowstring, and also hooking onto the nylon spacer that was used as the post for the priming arm. I also placed washers at the ends of those bolts to keep them from slipping off of their bolts. This method is a lot cleaner than using a rope, because the rope would slacken, and was bulky. Also, the canvas looked a lot cleaner, even though my stitching looks really janky.
Everything ended up being perfectly alligned the way I made my frame, because the front handle is jsut to the right of the blaster mounting plank, and the plank that mounts the crank mech was just to the right of that. NOT TO SCALE. From the top.
Crank handle
----------------------------------------------Crank------------Stock that goes on my hip
Handle plank Pushing arm
Blaster mounting plank------------------------------ Priming arm
Blaster-------------------------Posts on blaster Post on priming arm
That's all I can think of right now. If you would like pictures of something specific, or instructions or descriptions of something I glanced over, just say so.


